The purpose of our app is to present our 3D interactive models and make it easy for you to interact with, and examine them. To view a model you need to be able to select it. The app provides 3 ways to do this: Scan a QR Code; Find Model in a list; and select a previously viewed from Model History. The rest of the app is there to support and enhance these functions.
There are 3 ways to select a model:
Each of these has it’s own icon and these icons appear on most app screens to help you move easily between the 3 methods. The Home Icon takes you back to the app start.
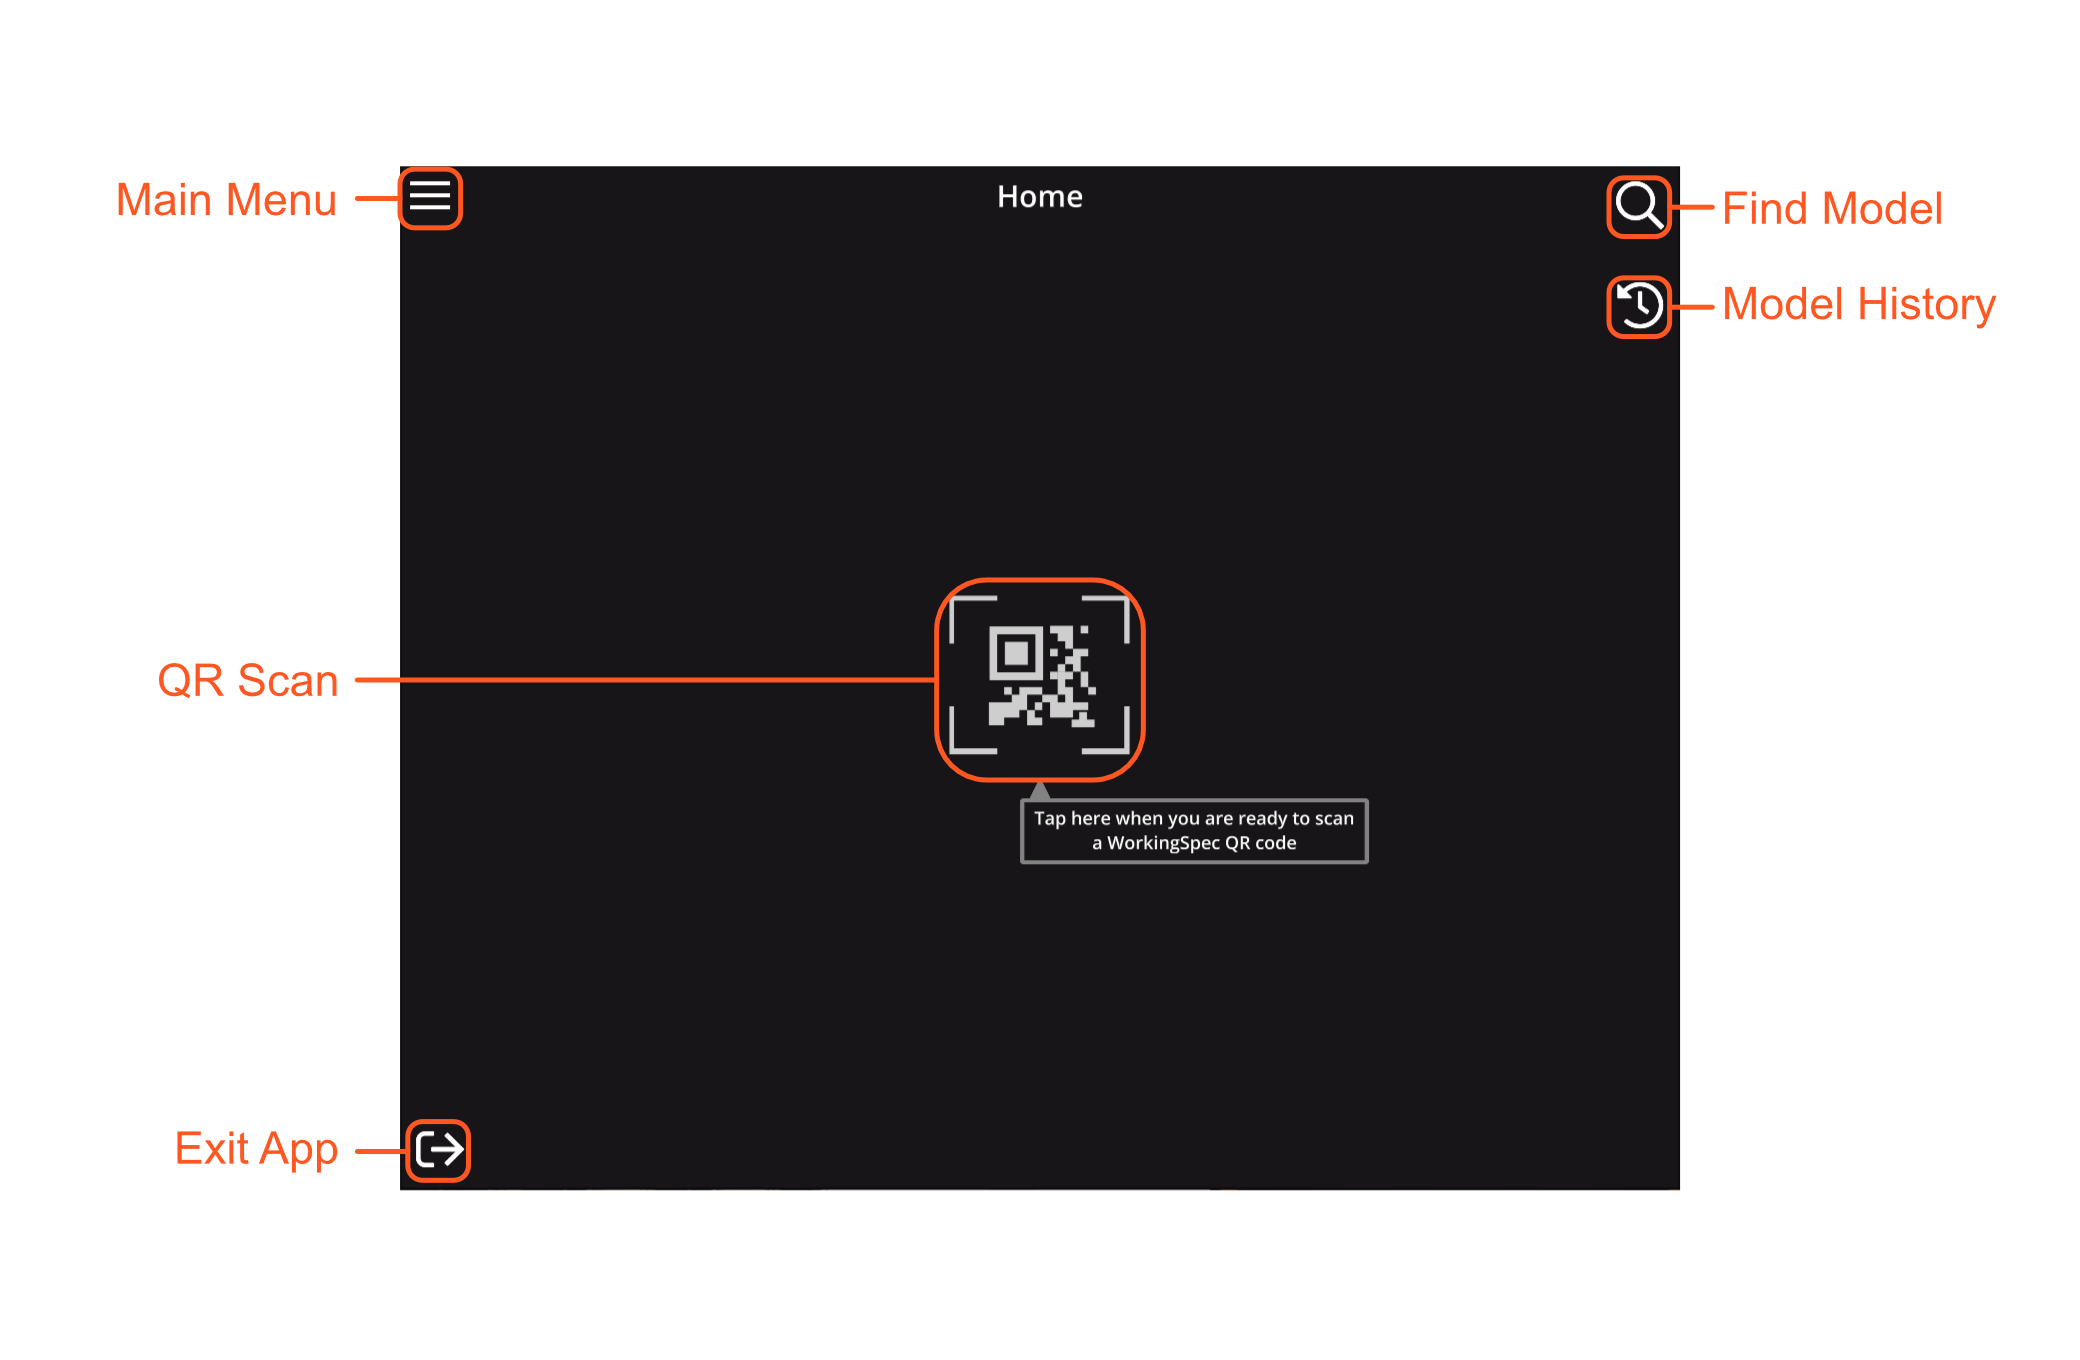
These icons are found only on the Home screen and allow you to open/close the Main Menu and exit the app.
The Main Menu contains the Main Icons plus these extra icons.
These 3 icons are displayed in orange when the app starts. They should quickly disappear.
If these icons appear in red then there is a problem which will affect the availablity app operations e.g. If the
camera is not available you will not be able to QR Code Scan.
The Working Spec Application showcases interactive, animated, 3D models of product assembly and instructions, making installation on-site simple and efficient.
The Home screen is the start point for access to all the app functions and screens.
The main menu lists all the model selection options plus some extra secondary options.
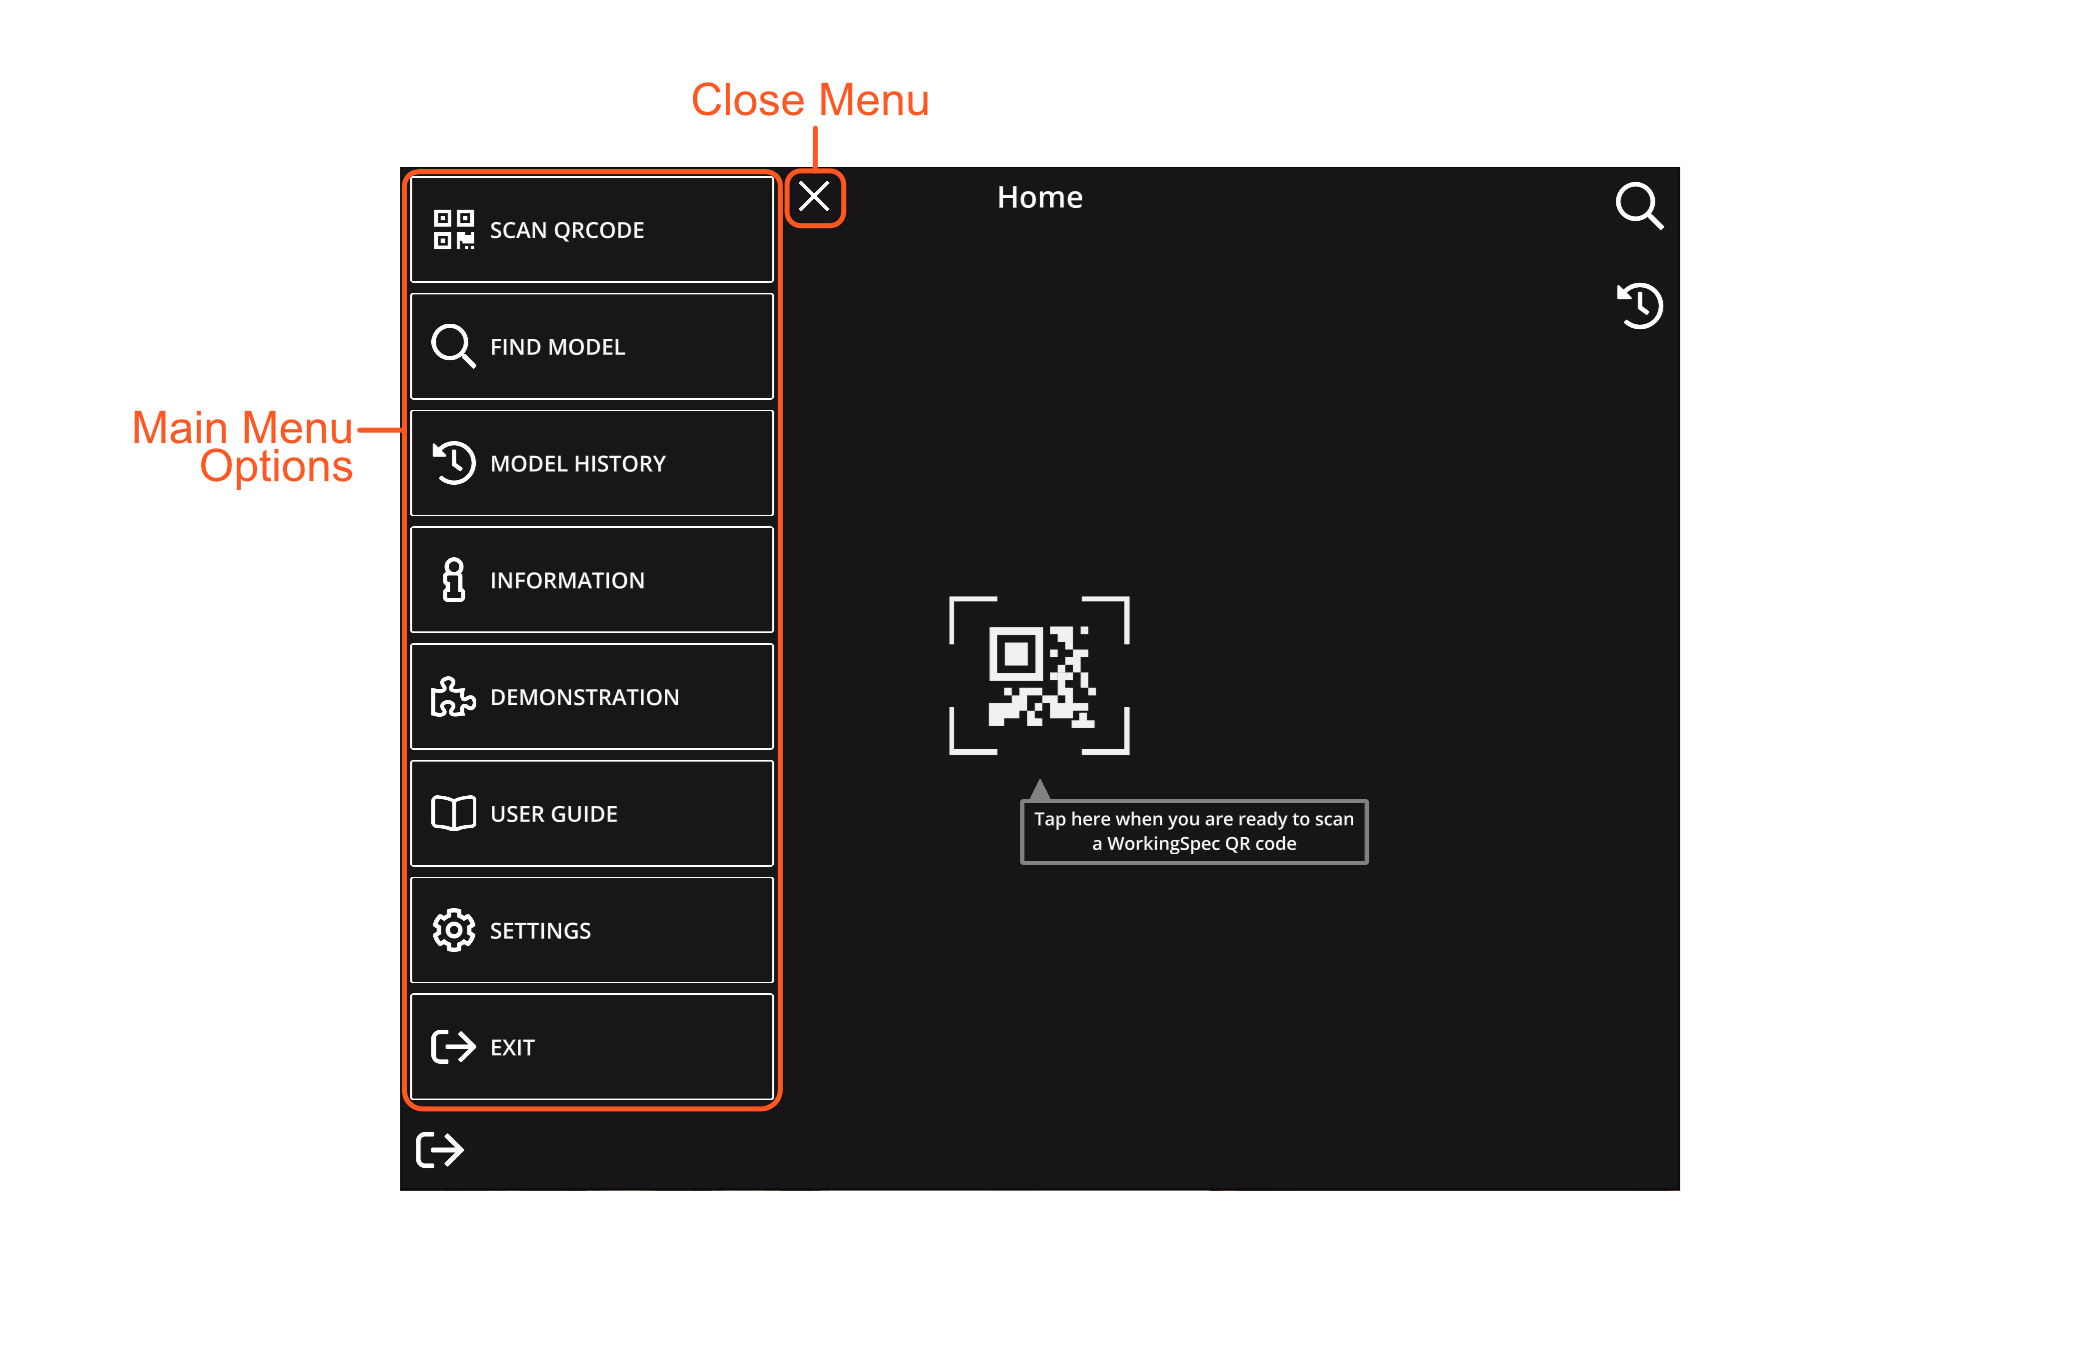
Main options:
Extra options:
QR Codes on manufacturers documentation, product packaging etc are a quick way to View a Working Spec model.
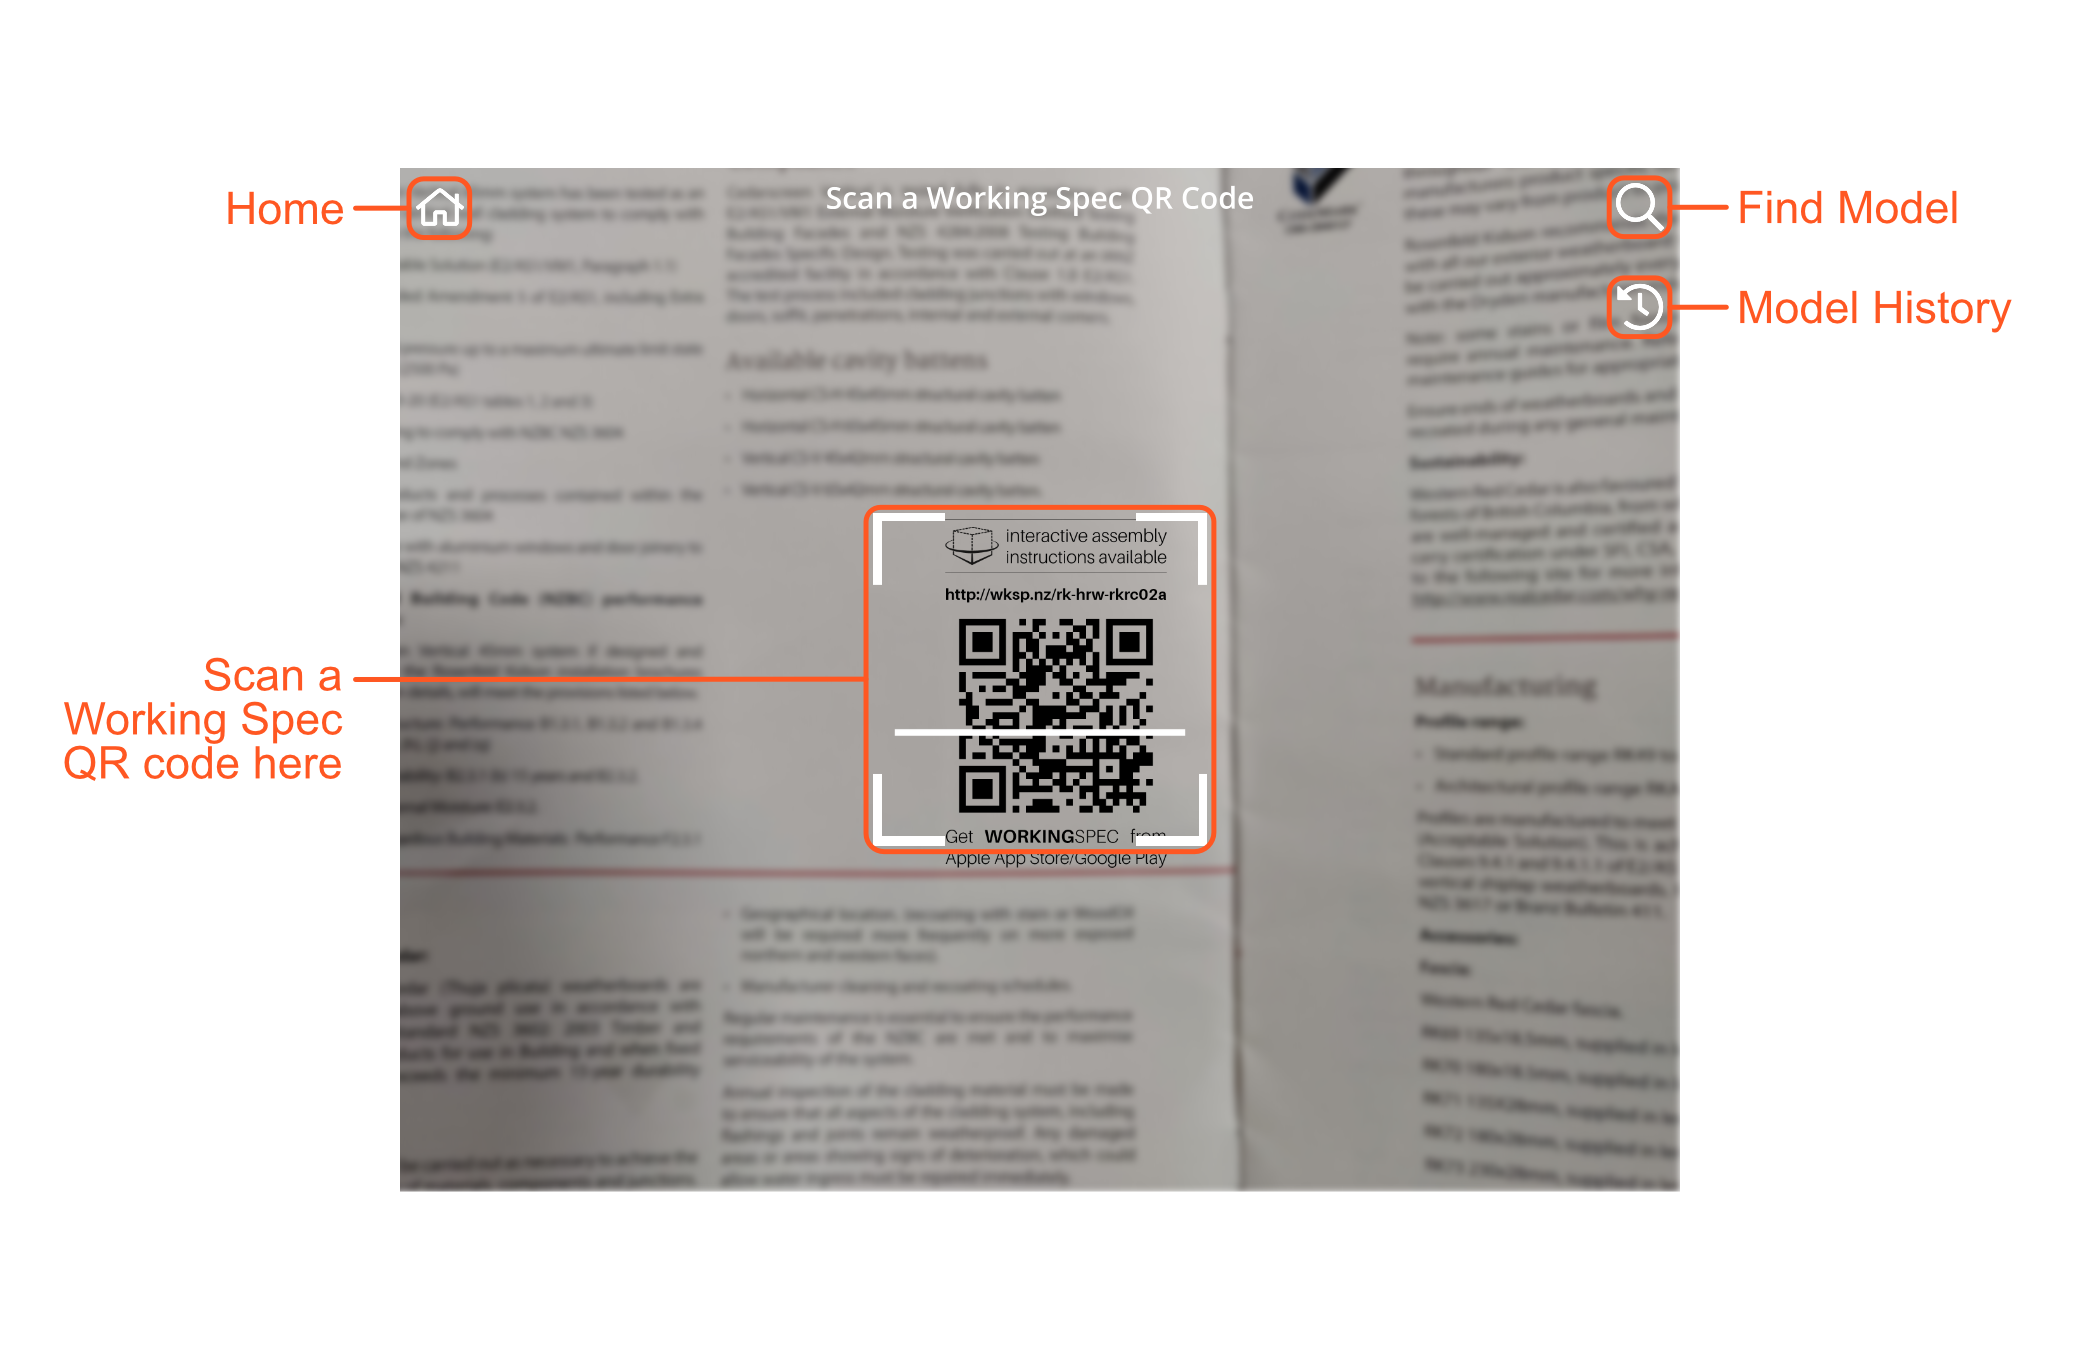
Your device camera is activated:
The model corresponding to the code scanned will load into the Model View.
If the QR Code you scan is NOT a Working Spec QR Code an error box will be displayed. Clear the error box and scan a valid Working Spec QR Code.
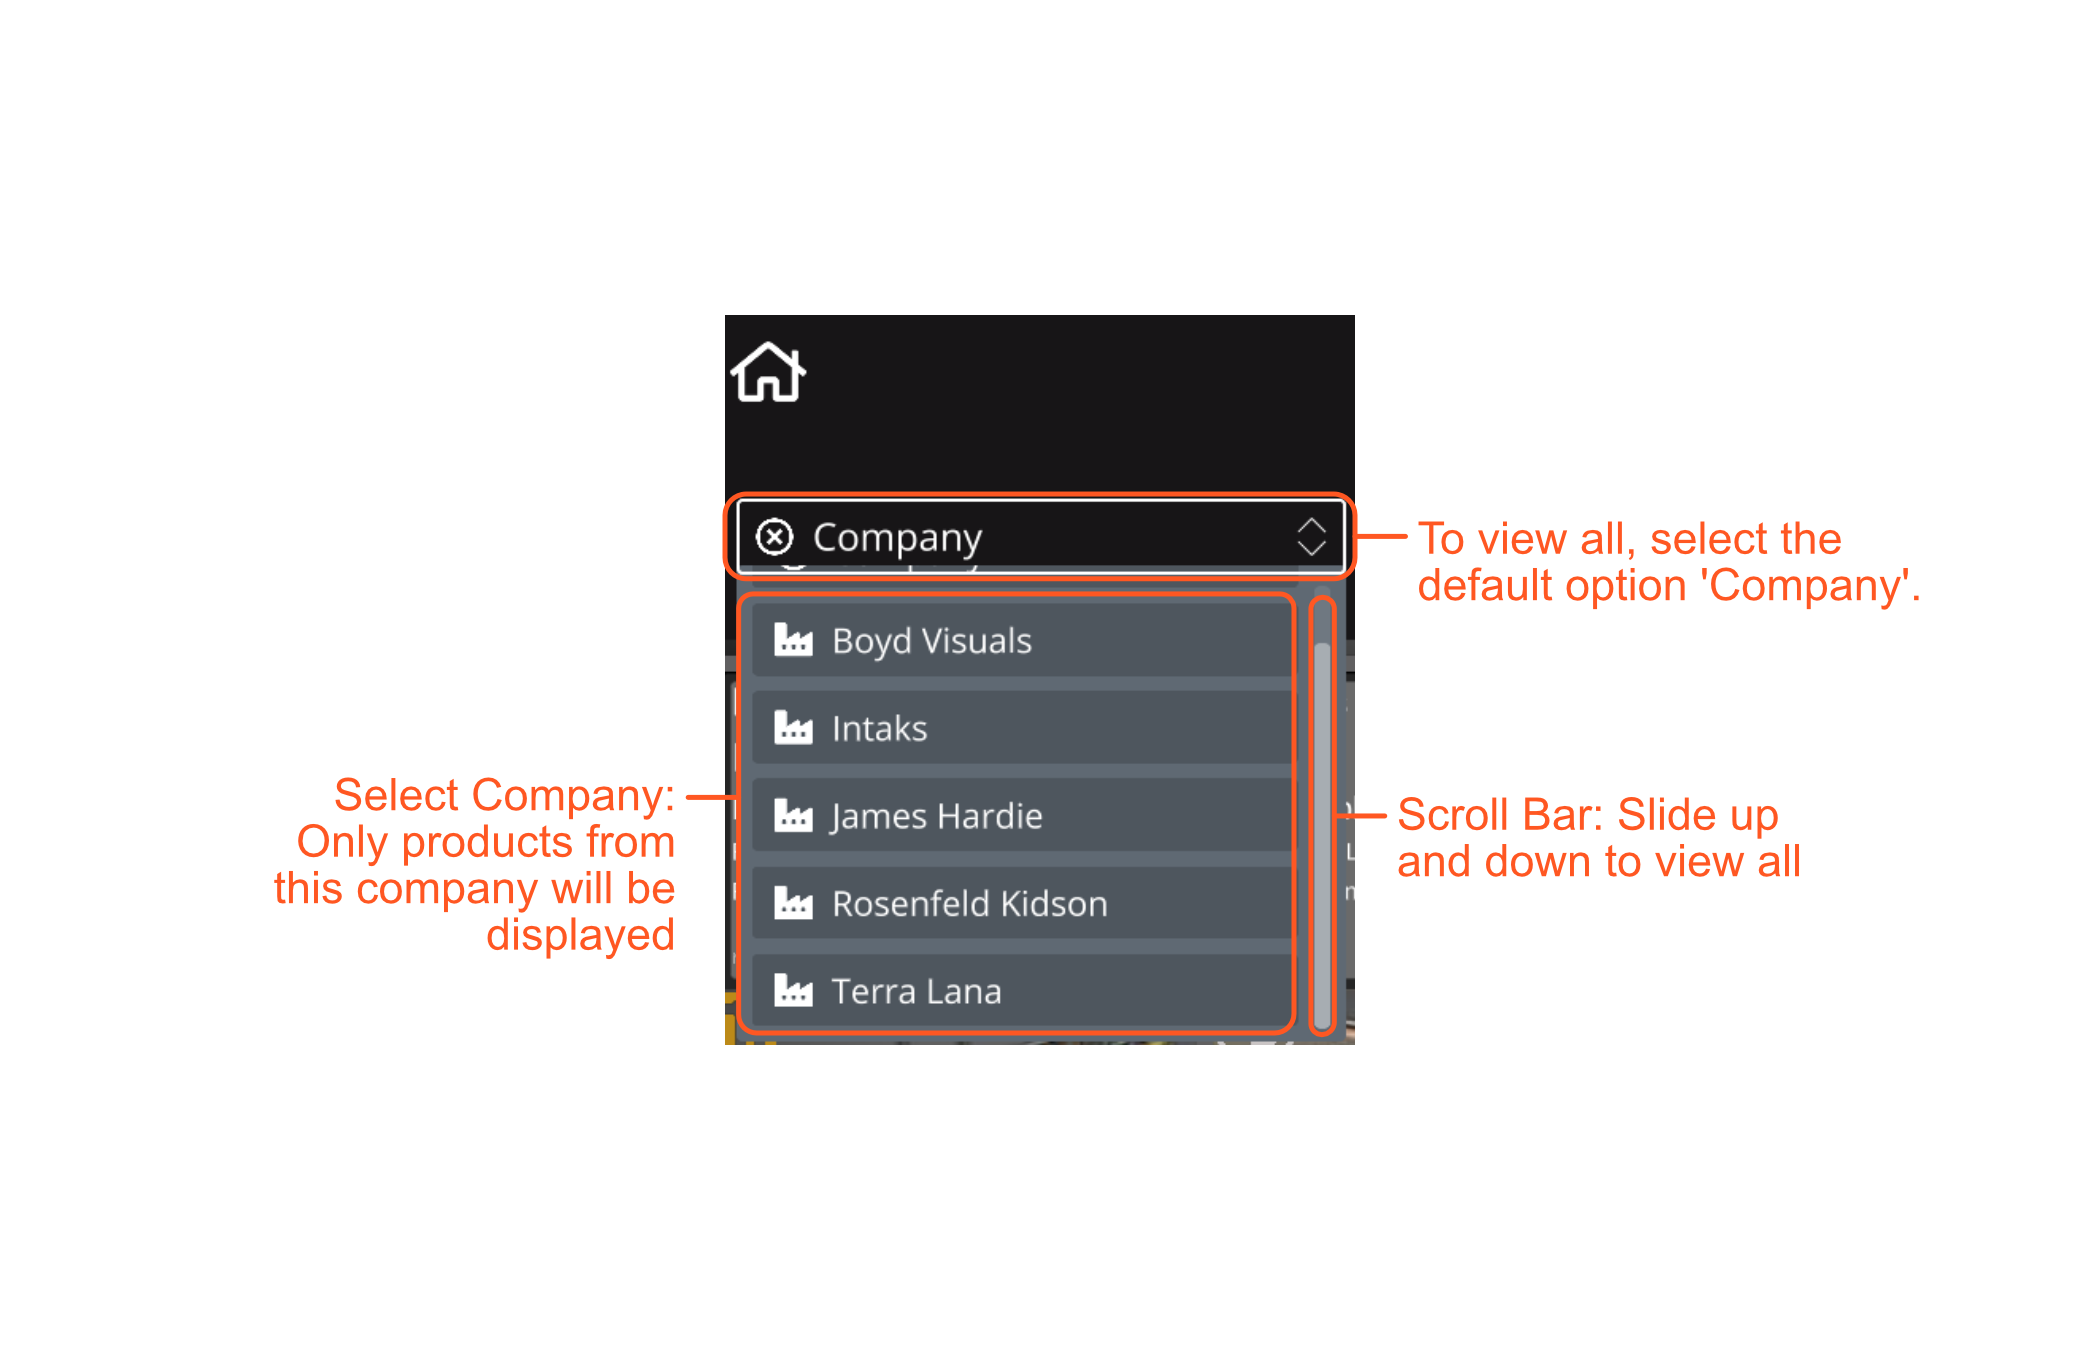
Another method to find the Working Spec model you want to View is to select it from a list of all our models. The models shown can be filtered by Company, Brand and Product.
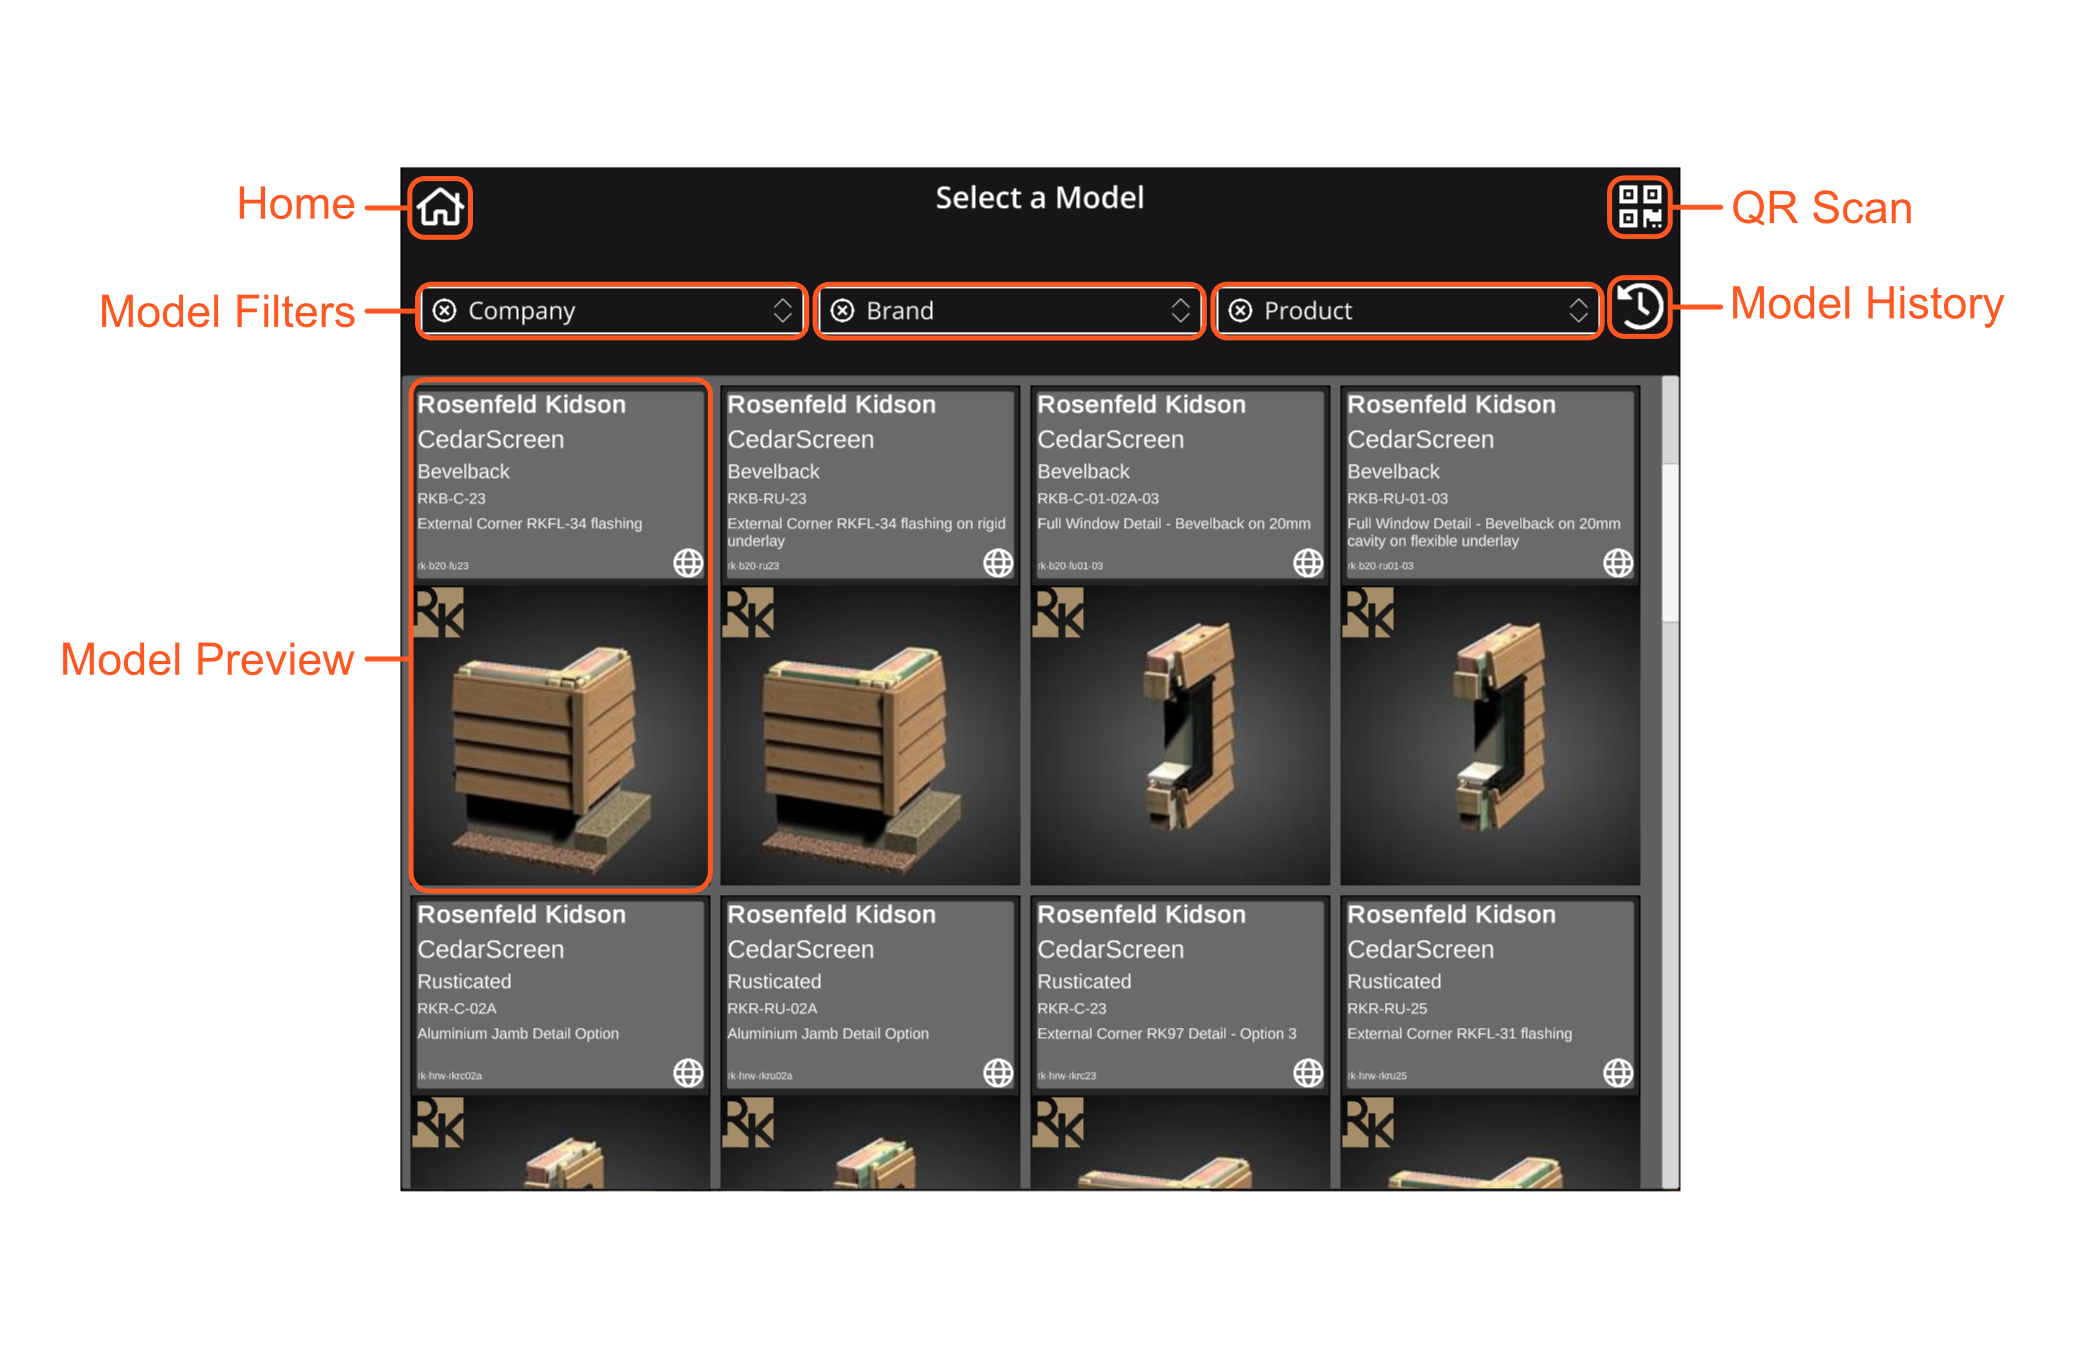
Models are displayed in a grid. Tap the model to View.
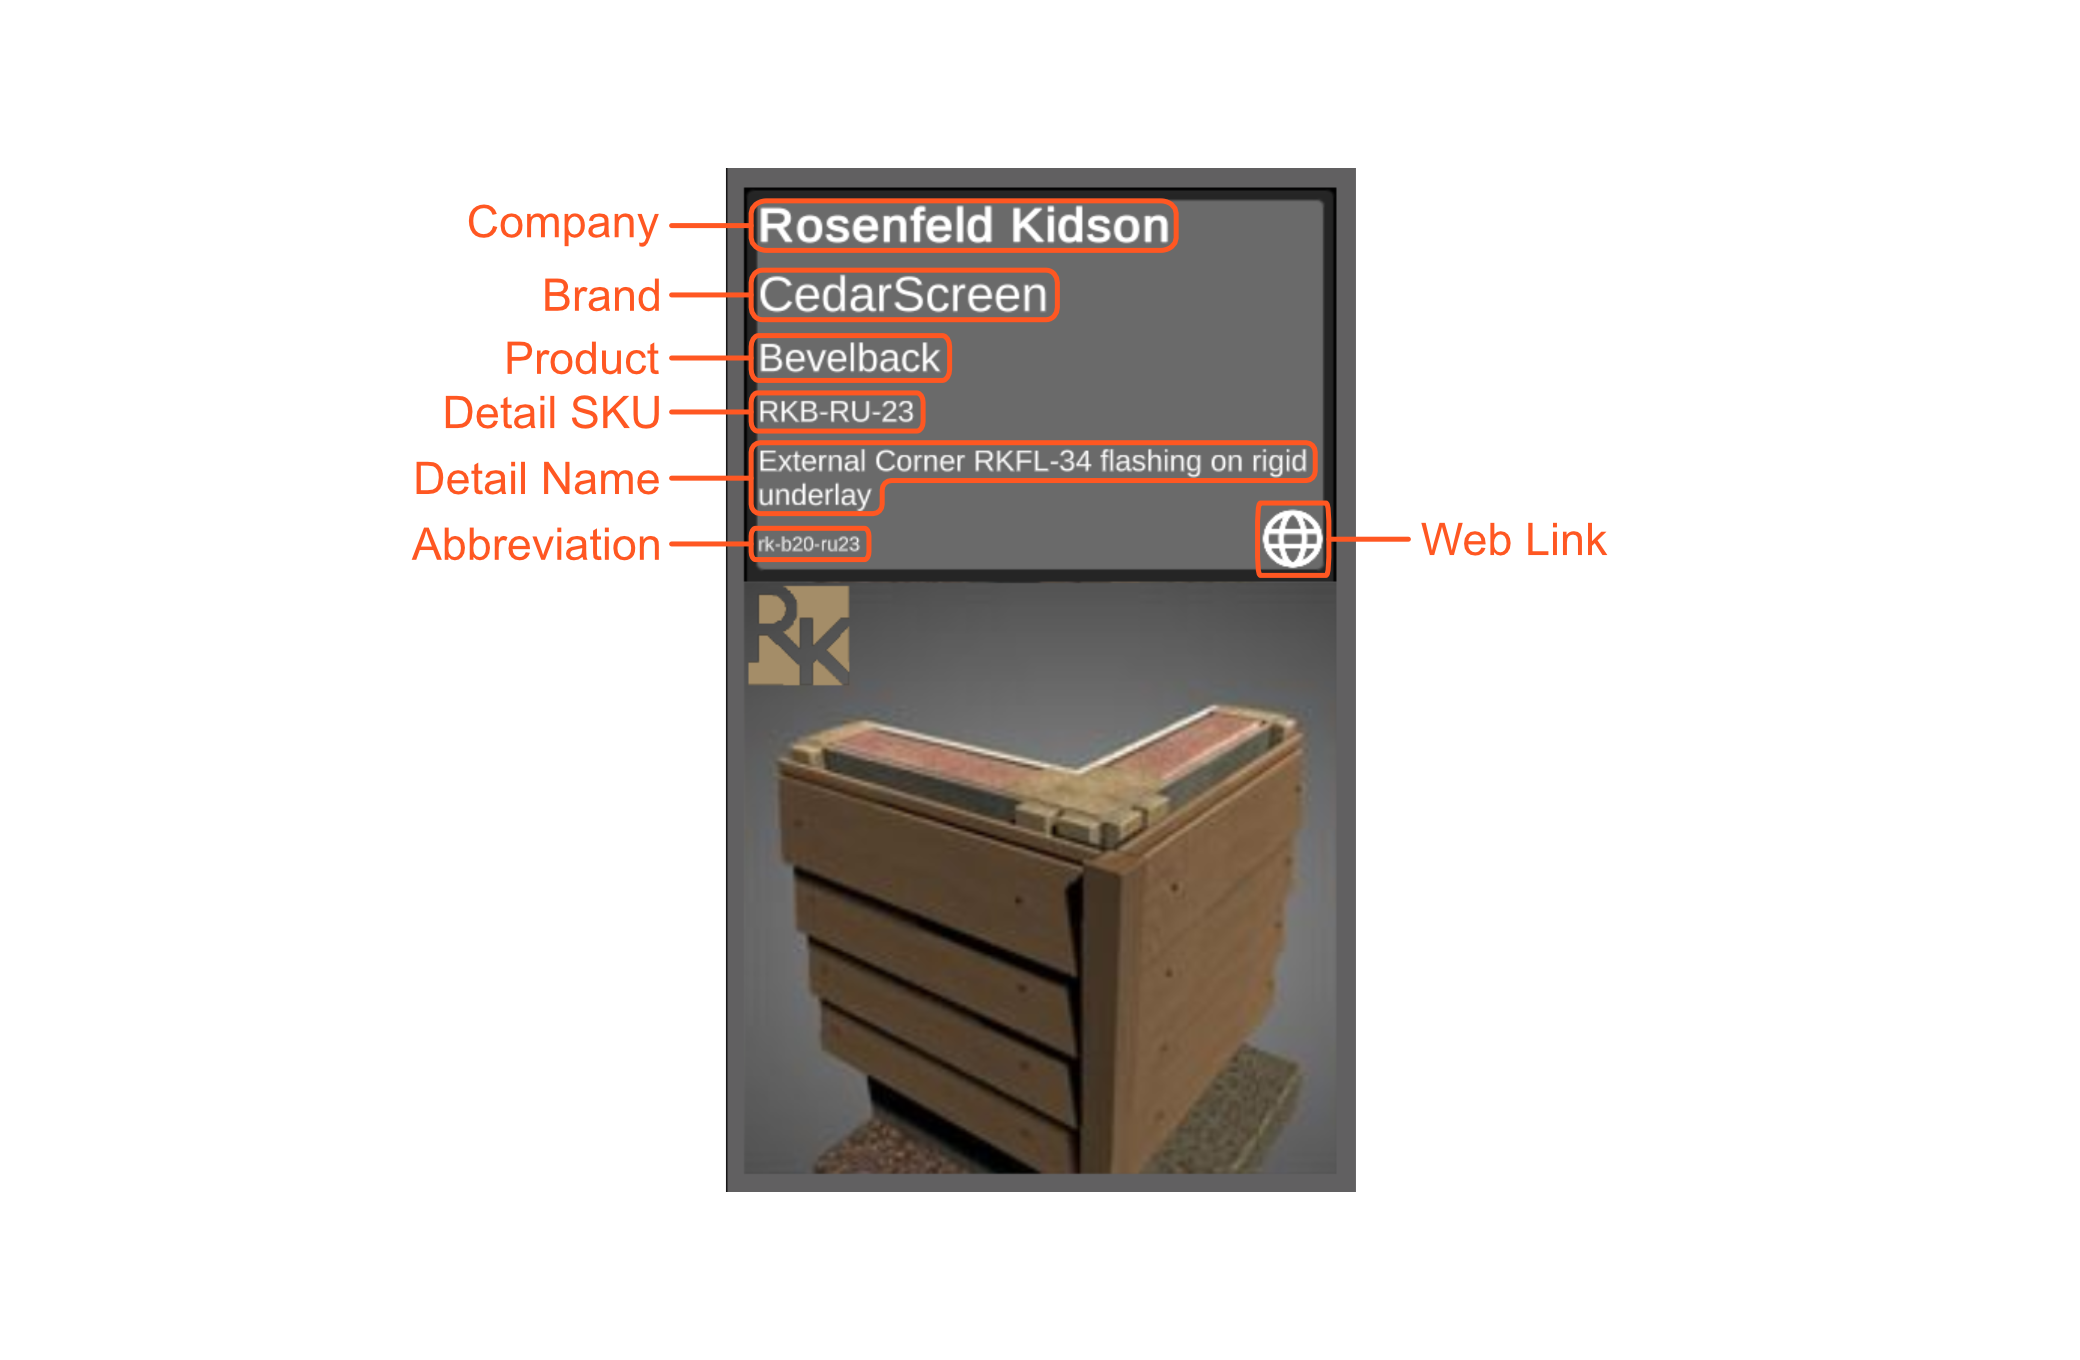
Find Model has a set of filters to make it easier for you to find the model you want to
view. Each model describes a detail, which is part of a Product, which belongs to a Brand, which is owned by a
Company.
The filters allow you to restrict the models displayed to any Company/Brand/Product.
The final method to find the Working Spec model you want to View is to select it from a list of the previous models you have viewed. The model history lists the models you have previously viewed in a grid (most recent first, oldest last).
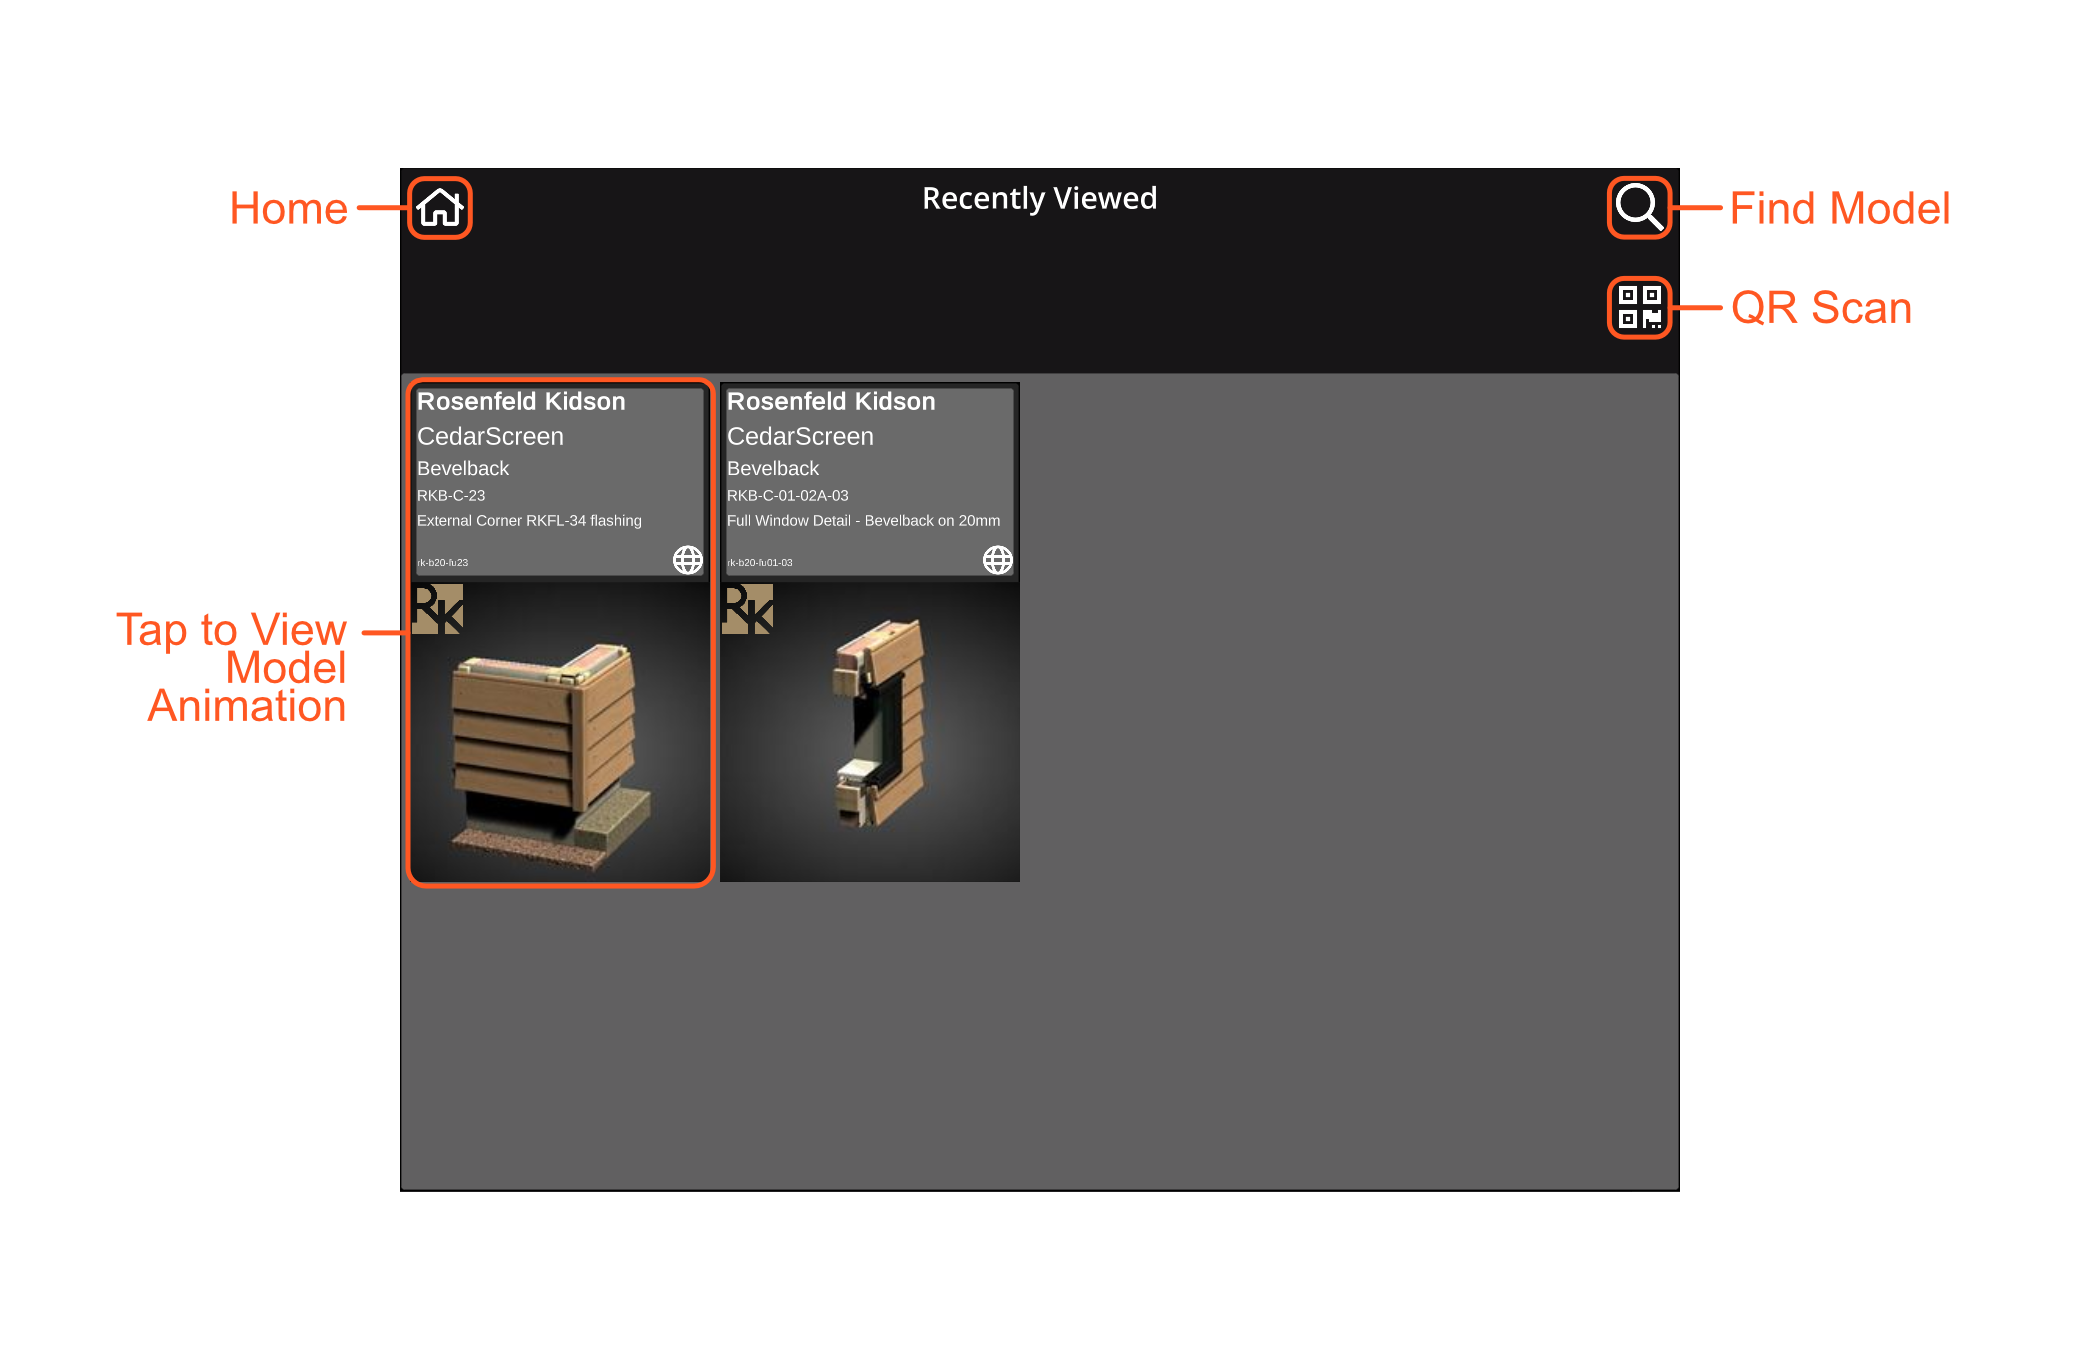
Models are displayed in a grid. Tap the model to View.

Information about our app and models including a link to our Working Spec website.
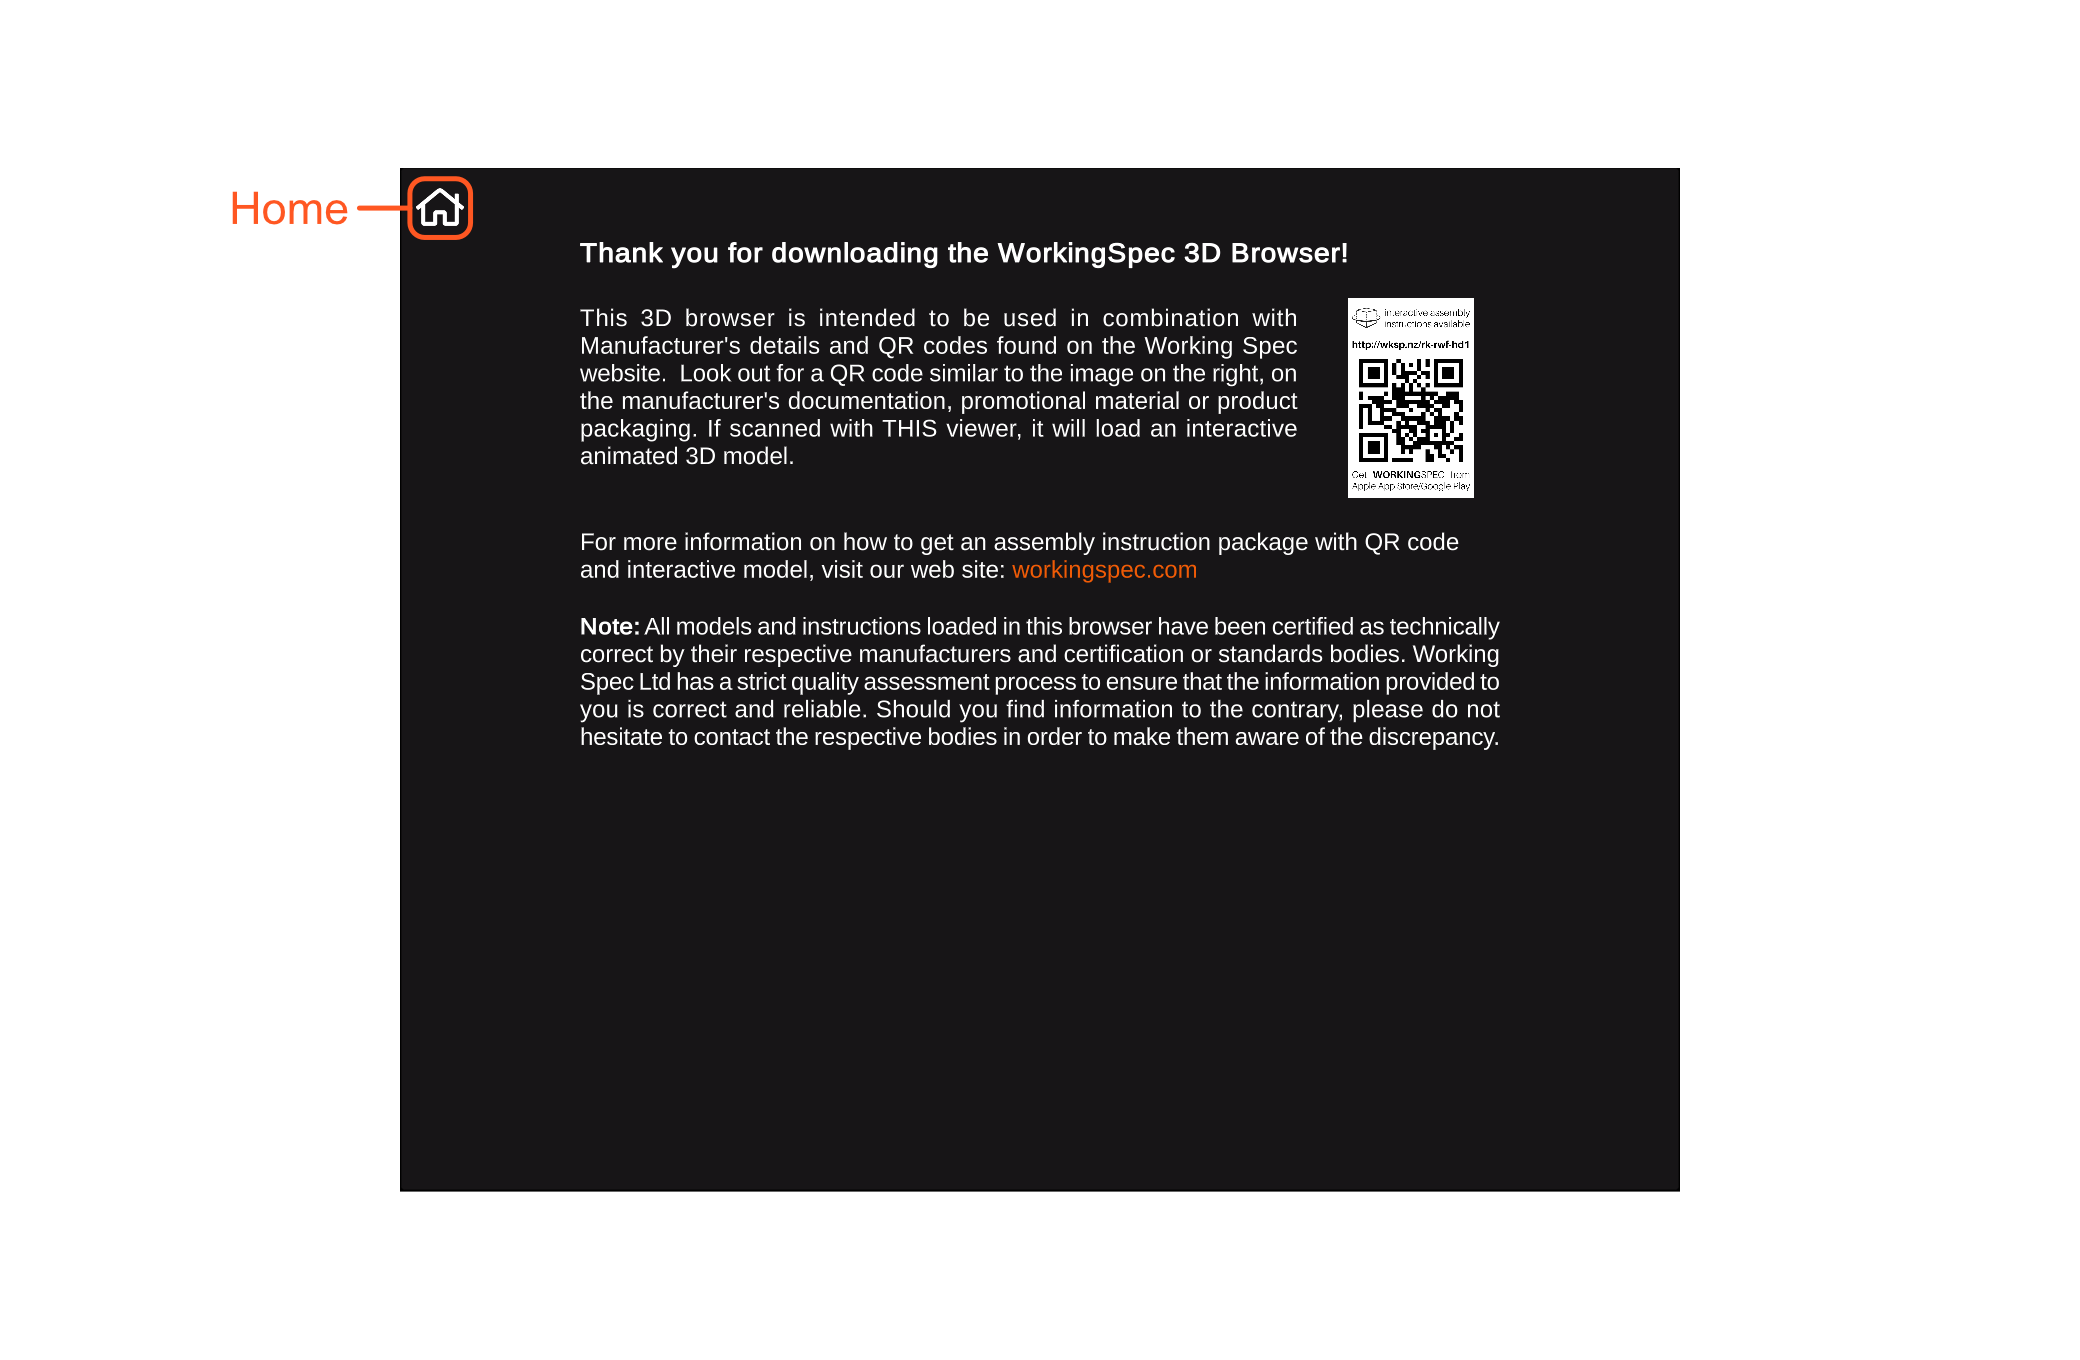
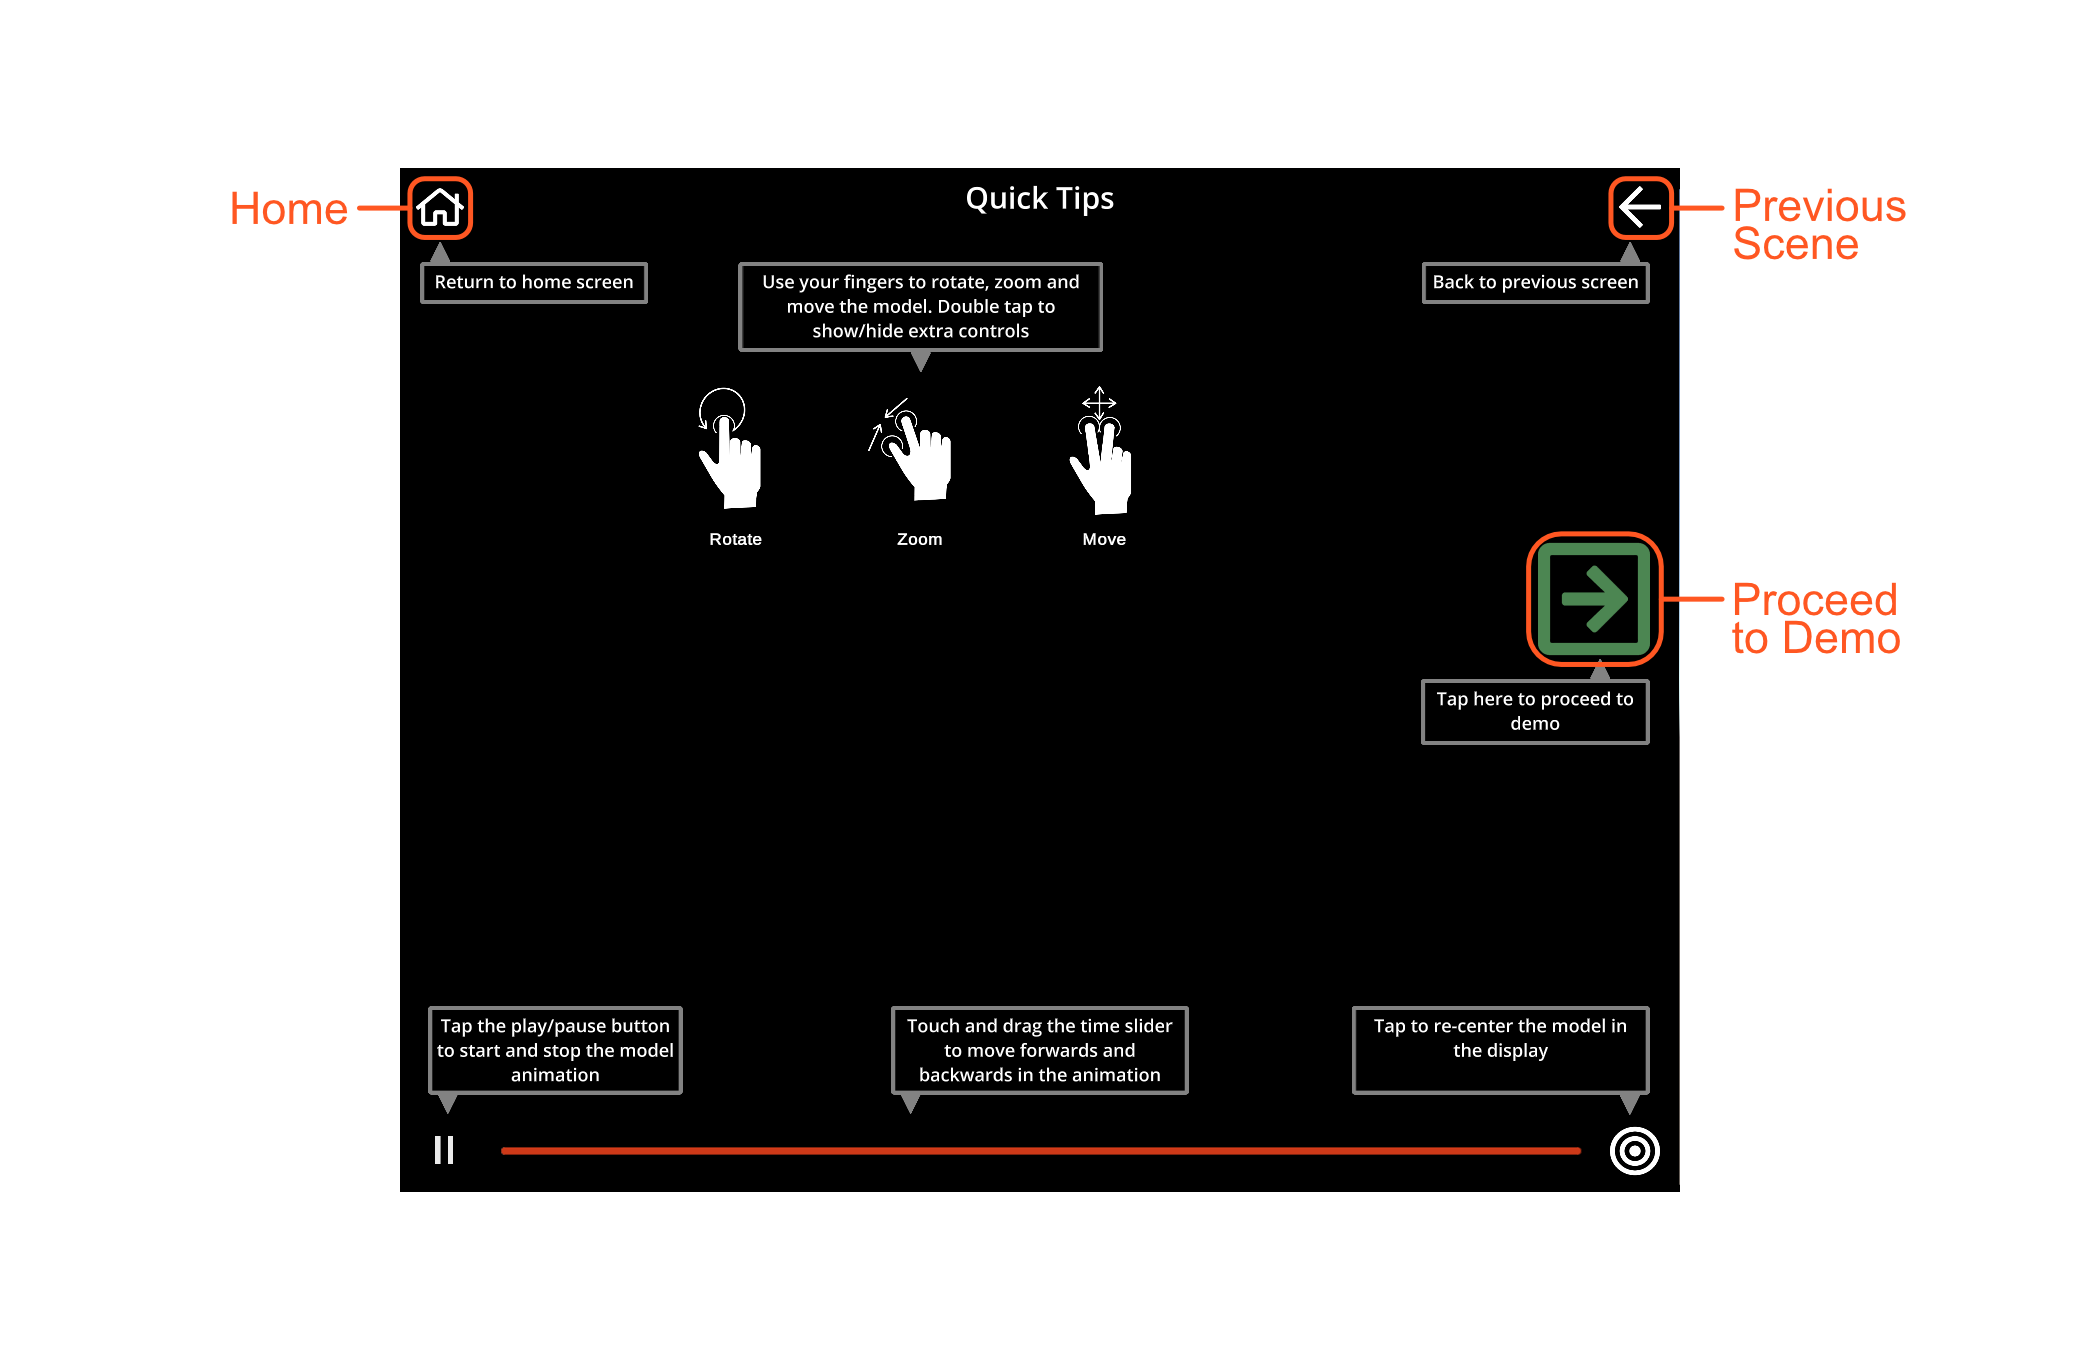
Some quick tips on interacting with models followed by a View of a demonstration model where you can experiment with the View gestures and controls.
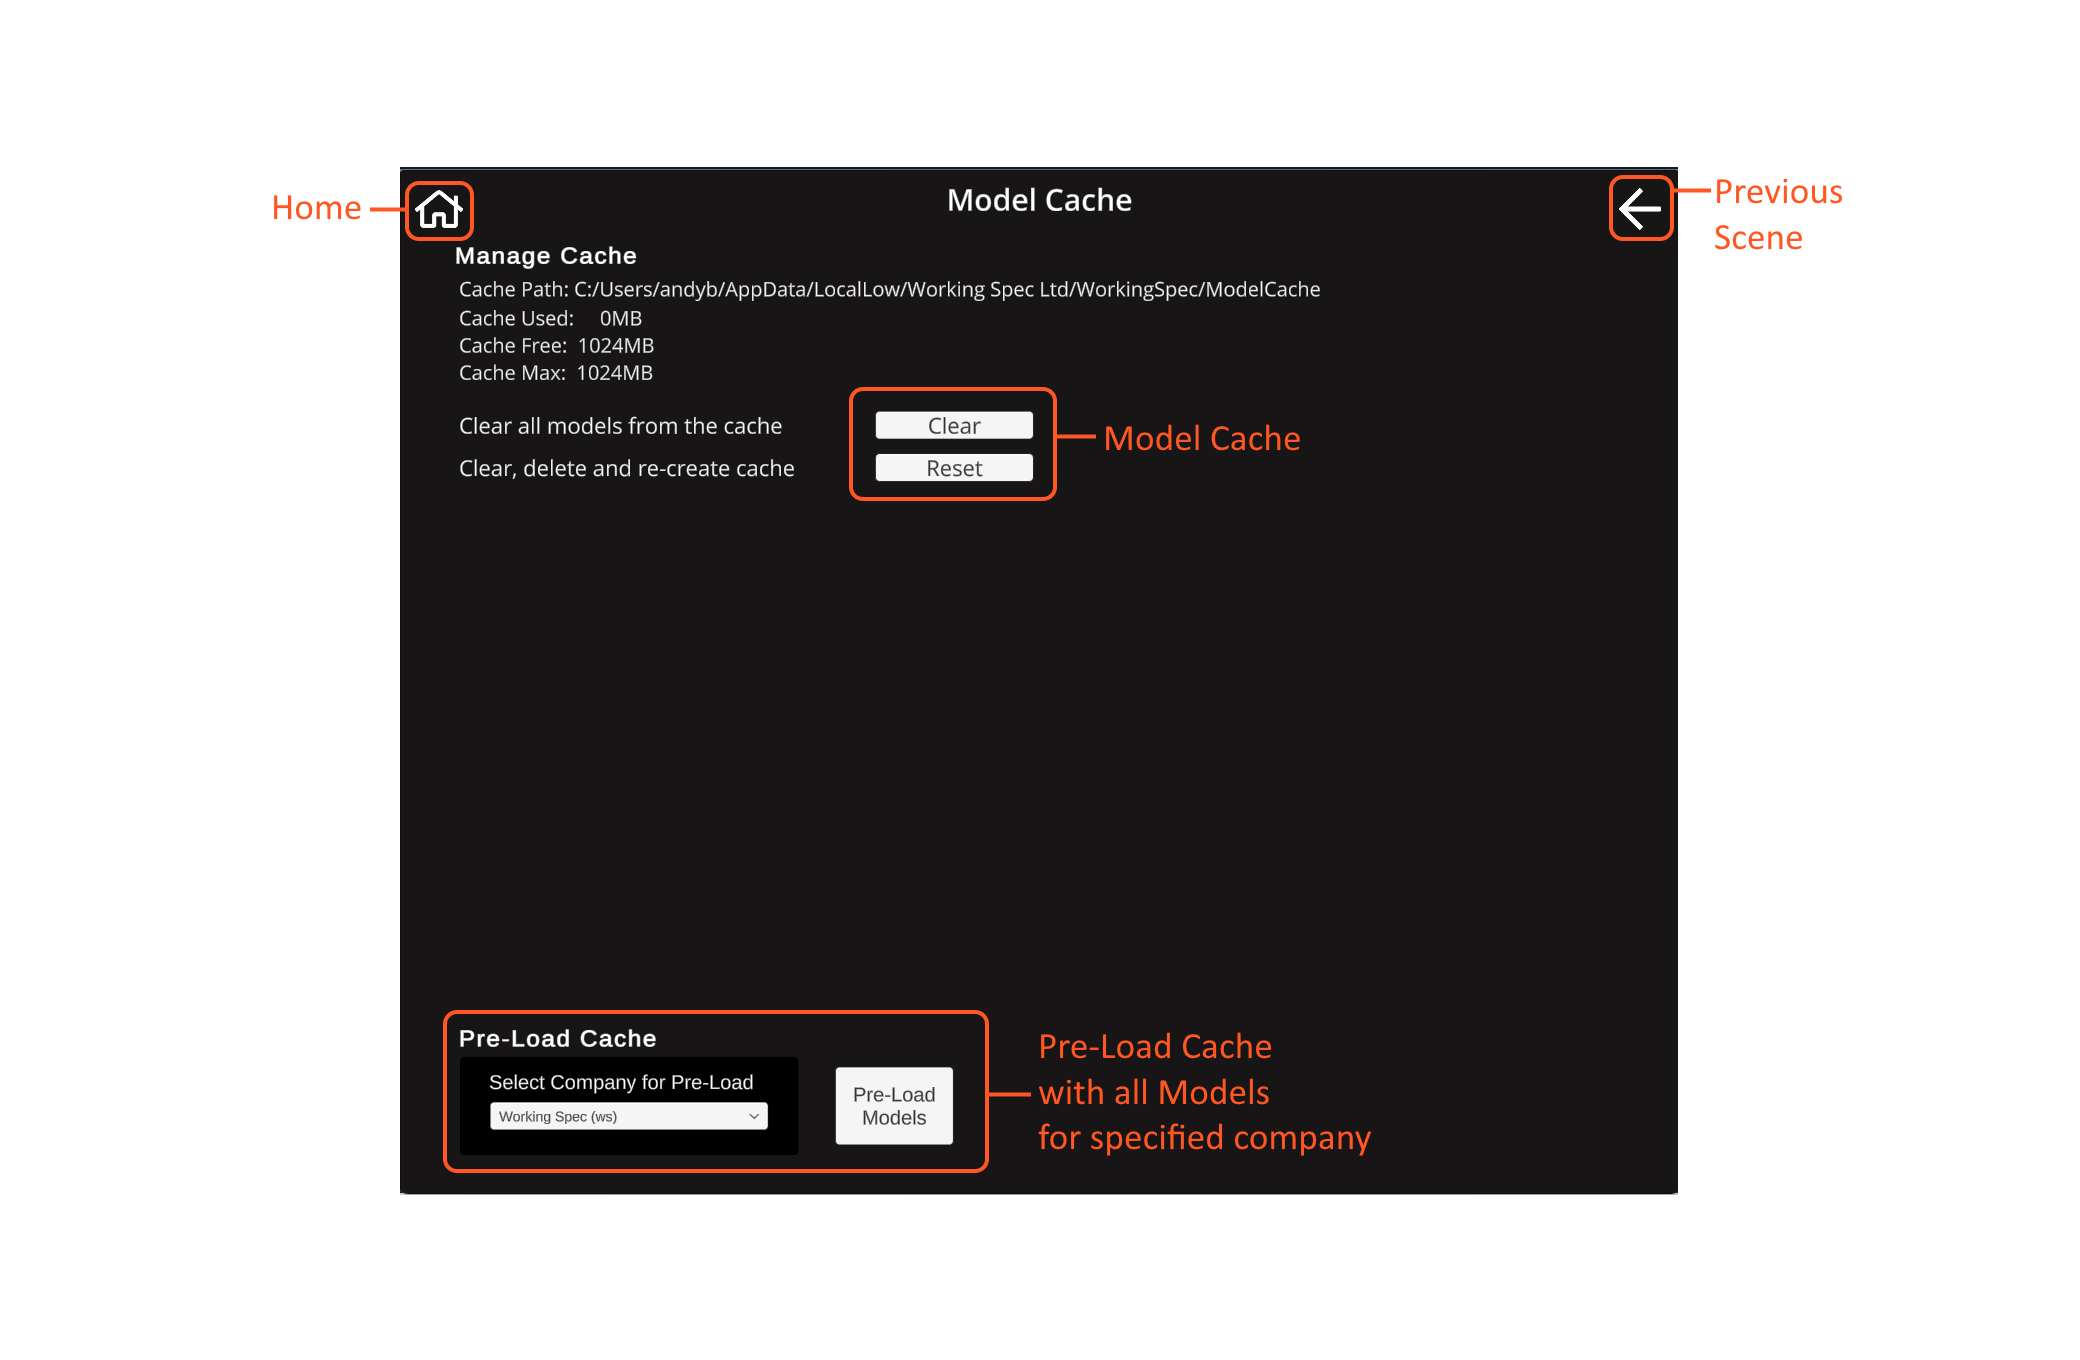
Tap Manage Cache button to move to Cache Management.
Change the User Locale by tapping the Locale button. Models are country specific. Setting the Locale determines the models available. If you change locale you must shutdown and restart the app for the change to take effect.

Models from Companies on our Branded subscription are cached. Cached models are stored on locally and load immediately.
The cache can be pre-loaded with all the models for a selected company. If you Pre-load in the office you won't have to wait for models to load at a remote location.
If the cache stops working use the Clear and Reset buttons to fix cache problems.
To Pre-Load the cache select a company and tap the Pre-Load button. Note: The cache is cleared of existing models before the selected models are loaded.
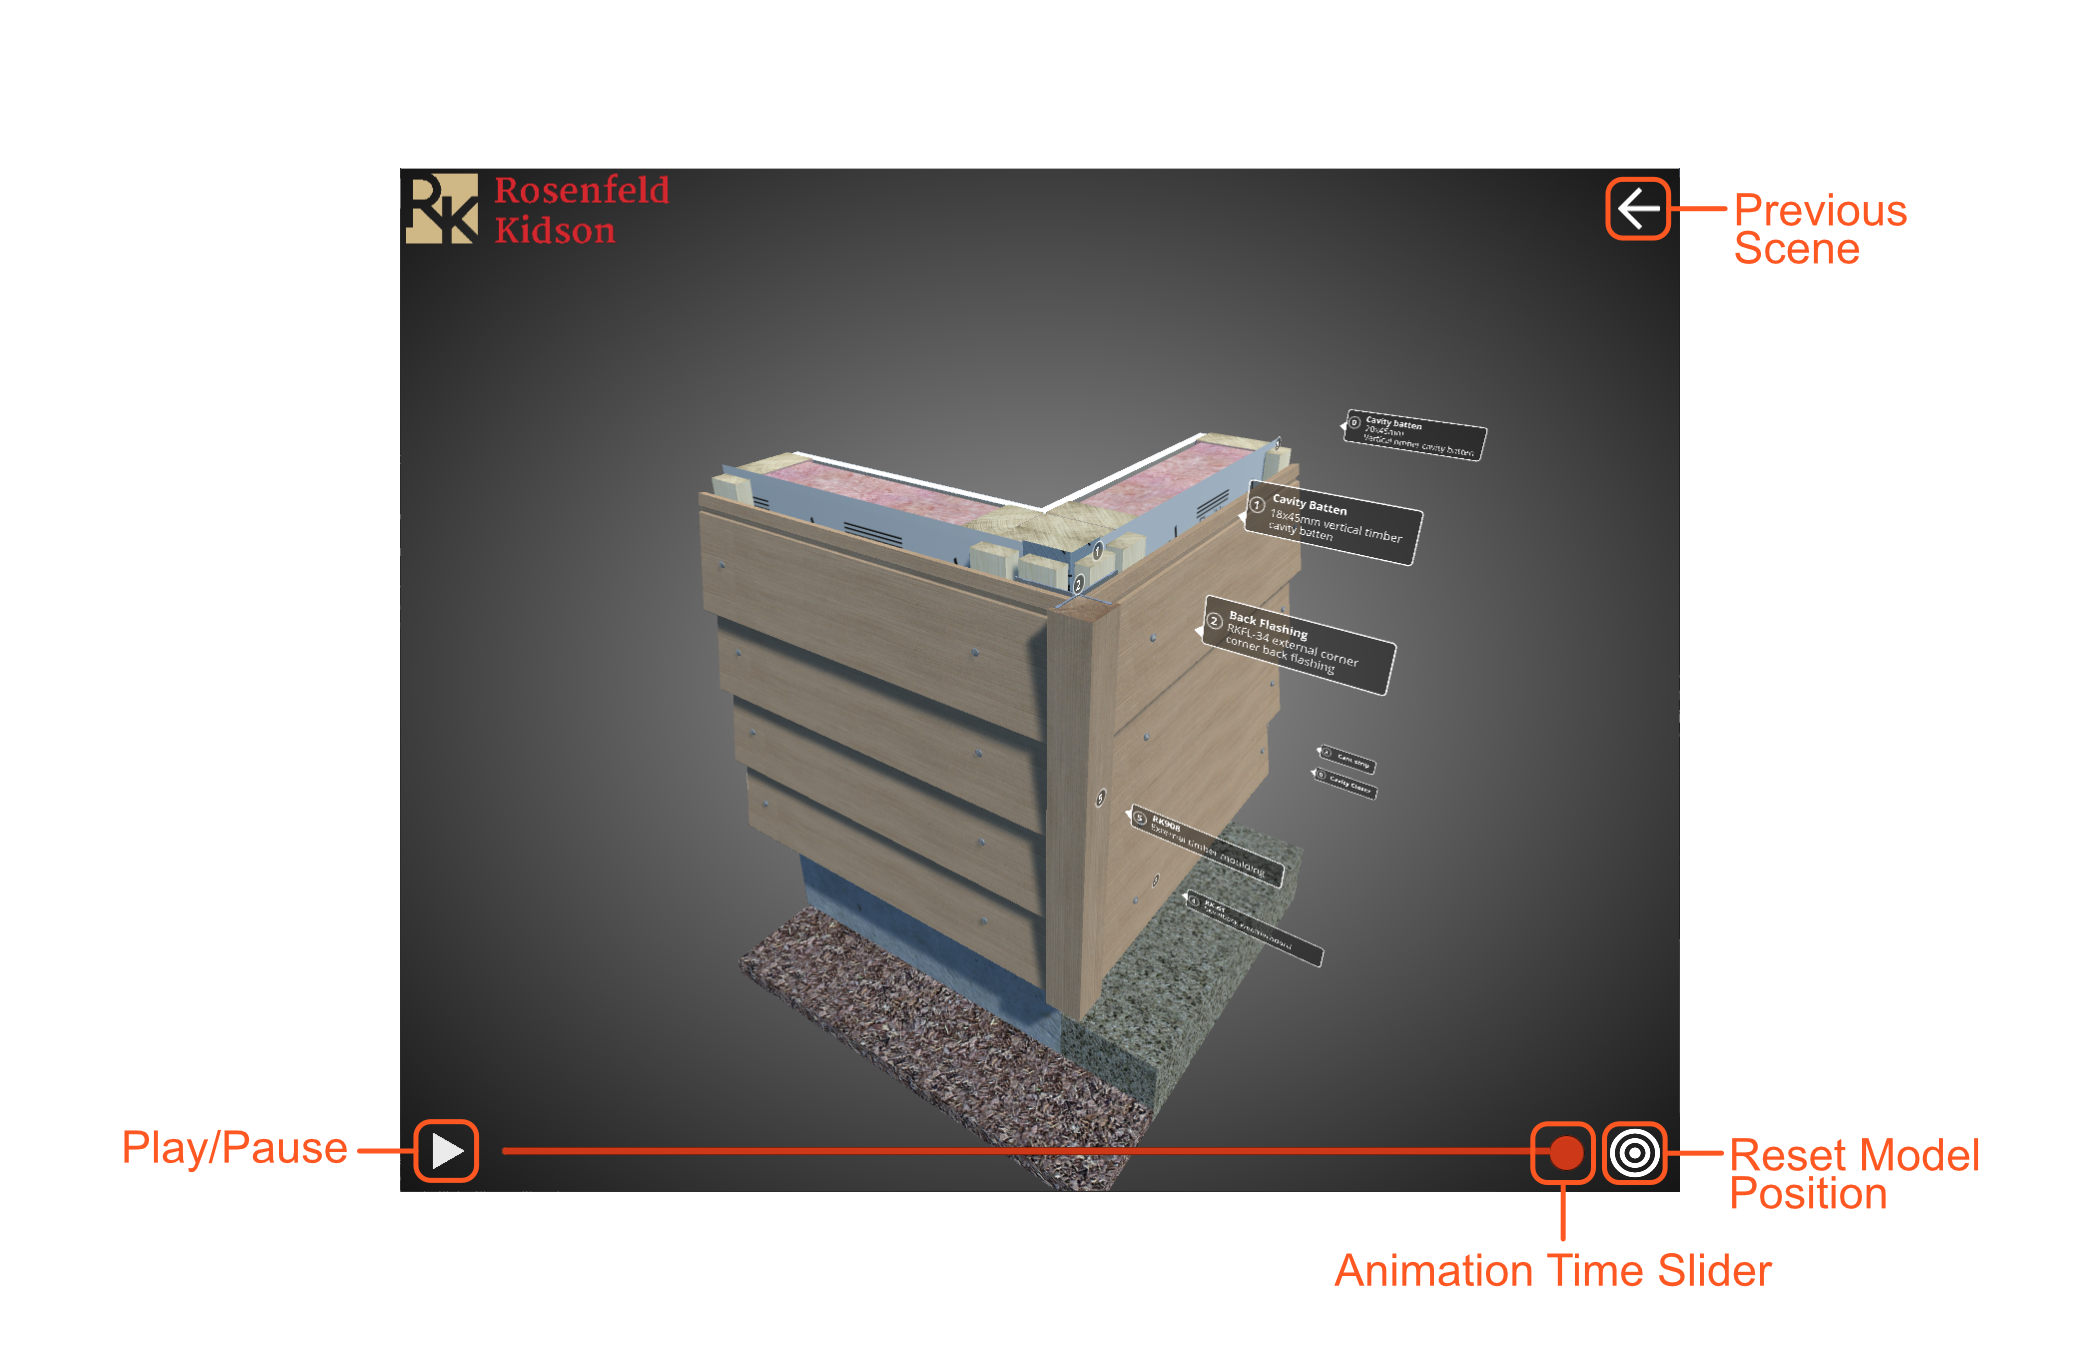
This is what the app is all about - viewing our interactive 3D models.
These icons show the finger gestures used to zoom, rotate and pan a 3D model in Model View. Note: These gestures are only available on touch enabled devices e.g. Mobile phones, iPads etc.
 Rotate - Place a single
finger on the screen and move up/down, left/right to rotate the model.
 Zoom - Place two fingers on
the screen: move apart to zoom out; move together to zoom in.
 Pan - Place two fingers on
the
screen and move both up/down, left/right to pan the model.
Pan - Place two fingers on
the
screen and move both up/down, left/right to pan the model.These icons show the mouse buttons used to zoom, rotate and pan a 3D model in Model View. Note: These buttons are only available on devices supporting a mouse e.g. Laptops, Desktops etc.
 Rotate - Click and hold
this mouse button then move the mouse to rotate the model.
 Zoom - Rotate the mouse wheel
zoom the model in/out.
 Pan - Click and hold this mouse
button then move the mouse to pan (move) the model.
Pan - Click and hold this mouse
button then move the mouse to pan (move) the model.This group of icons play/pause the animation and re-center the model in the Model View.
These are hidden by default. Double-tap the screen to toggle them on/off.
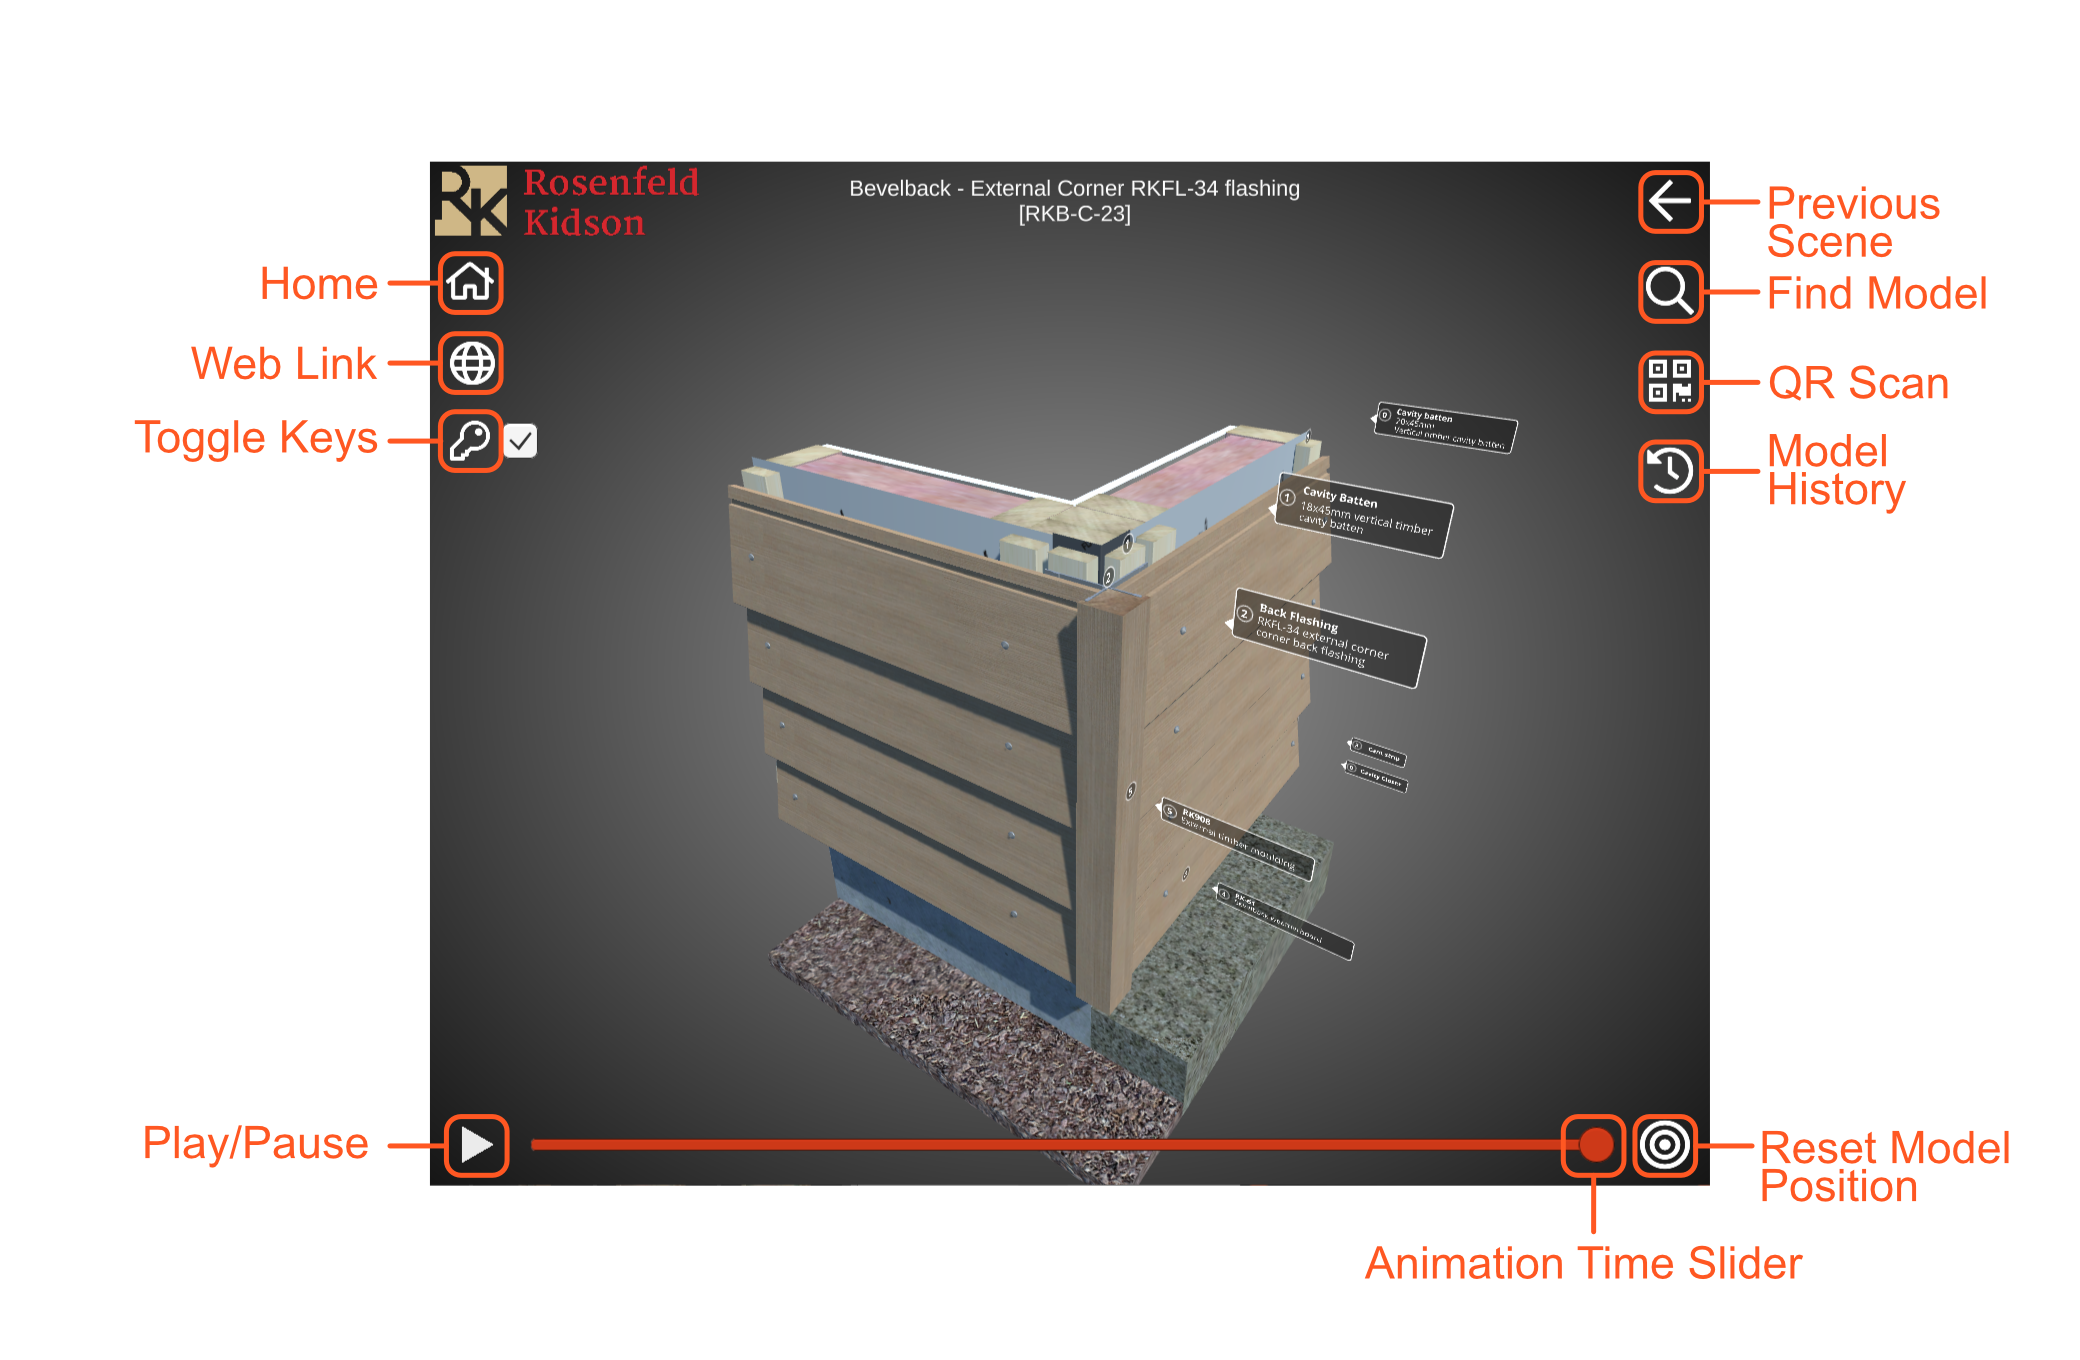
These icons are only visible in the web version of the model animation.